
Tuesday, May 31, 2011
Deciding Where to Spend Your Money
As I've already pointed out - there are several ways to cut corners at your wedding and still have everything look fabulous. On the other hand, there are some areas where, in my (and my sister's) experience, it is wiser to spend the extra money.
So if you tried what I suggested in my first post - about writing down all the expenses and determining how important it was that you had the best of each one - and need some help deciding where to put your money, and where to save - keep reading. Even if you already have it all figured out, KEEP READING!
It is your day - therefore it is completely up to you - on where you want to invest most of your money on your wedding, and where you can save. However, there are a few areas that I have found are more important for most, if not all, brides to spend more rather than less. Between my sister's and my weddings, we have learned the hard way that saving money in certain areas greatly risks the quality of the product.
So here's a brief list on where you can spend less and where you need to spend more on your wedding -
You can do without:

-The elegant drapery and sashes on the reception chairs - true, they look incredible, but most reception locations have fairly nice chairs to begin with, they don't need to be covered up.
-The "signature drink" at the reception (I saw this one on an episode of Platinum Weddings).
-The free bar - if you go with a cash bar, most places will have you pay an amount up front, and if they make more than that, they reimburse you. We went without a bar, period - and our guests still had a wonderful time - but that's really up to you.
-Generally speaking, when it comes to centerpieces - you can always make your own for much cheaper - most are some type of arrangement of glass vases/bowls, and flowers or candles. Candles are much less expensive - but you can also get very nice looking fake flowers at your local craft store for much less than the real thing.

-The massive wedding cake that serves two, three, or five times the number of guests you have attending. Remember - small cakes can be beautiful too :O)
-The professional wedding coordinator. I had my sister coordinate my wedding. Choose someone you trust - who either knows your style/what you want, or has very similar ideas. Someone who is from the town your wedding is taking place in is a plus. It's also a plus if s/he knows a lot of people. I chose my sister because she was from Three Rivers, knew me well, and between her and her husband, knew half the county. She got me a deal on my photographer, she got me into the church earlier than normal to decorate, she had experience planning her own wedding, and she's GREAT at party planning in general.
You CANNOT do without:
-A professional tailor for your wedding dress. Trust me - I went with someone who was not professional, but had a lot of experience sewing. While she did a wonderful job on my sister's bridesmaid dress and the flower girl dresses, I GREATLY regret not spending the extra chunk of money on getting my dress professionally altered. Wedding gowns are very complex - there's a lot of layers and usually some ribbing to work around - you NEED a professional.

-The professional photographer. Your wedding lasts one day. Your pictures and your video (if you have one made) are going to be your biggest link back to your special day. My sister had a friend - who was training to be a photographer - do the wedding pictures. She forgot to open the shutter on over half the pictures. My sister doesn't have any pictures of her and her husband on her wedding day! Tragic. I know photographers can be expensive, but trust me. It's worth it. I was lucky enough to know someone who was a professional photographer, and she gave us a discount. Again, look at your resources!

-The dress of your dreams. Don't get me wrong, it doesn't always cost a huge chunk of money. Mine was $100. My friend Erin's was $20! It depends on your taste - but you need to feel beautiful and wear a dress that fits your figure - the dress itself is part of that, the fitting is the other (like I said above...).
There you have it. While I am here to help you save money on your wedding, I also want you to be aware that there are certain areas where you need to spring for the professional/best. You cannot put a price on looking beautiful on your wedding day. You cannot put a price on beautiful wedding pictures that you will have for a lifetime.
PS - check out these photographers!
-K. Redmond photography did my wedding
-Emily Smith did our engagement photos - she's brilliant.
Saturday, May 28, 2011
The Bridal Party
Having been in several weddings in addition to my own, I know that the bride's/family is not the only one strained for money.
Many brides want their attendants looking perfect - meaning their bridesmaids have to spend upwards of about $150 or so on a dress, about $50 on an up-do, and shoes, jewelry, not to mention the wedding gift.
Fortunately, for the weddings I was in, the brides did a wonderful job on cutting a lot of the costs for the attendants. Personally, at my wedding, I tried to do the same - I felt bad asking my sisters and closest friends to spend hundreds on my wedding. So here are a few tricks-of-the-trade that I used, and some I saw others use, to help your attendants look great without spending a fortune.
Bridesmaids
-For my girls' dresses - I chose a color (clover green), and a length (knee or tea) - and told them to choose whichever David's Bridal dress they wanted. The color I chose gave them a lot of options - DB has A LOT of clover green dresses. And remember - it's really important that your girls feel comfortable in what they're wearing - which is why I tend to favor a variety of dress styles. My matron of honor and I also discovered that if you search for "David's Bridal bridesmaid dresses" on eBay - many options turned up - several in clover green. One of my attendants even chose this option - it was a full length dress and she had her mother shorten it. And she looked fab :O)

-At Kate's wedding - one of the bridesmaids made the dresses herself - we just paid her for the fabric.

-Amazon has a lot of options for bridesmaids dresses also - at Katie's wedding - she bought the dresses off Amazon and we paid her back - they were adorable and only $60!

-Shoes - Since I had a summer wedding I took this option - David's Bridal has come out with adorable, dressy flip-flops in their signature colors. I asked my bridesmaids for their shoe sizes, and bought them the flip flops as their gift from me :O)
-Nails - go to a store (or stores) and search for a nail color that perfectly matches the dresses (it is possible - we did it for Katie's wedding and mine) - buy a couple bottles and have a mini-salon the night before the wedding - we managed to do this at Katie's after we went out for drinks, and at mine after my bachelorette party at home.
-Jewelry - if you want your bridesmaids to have matching necklaces/jewelry - this makes the perfect bridesmaid favors! Katie got us all pearl necklaces. Kate got us matching shawls (it was a late-September, outdoor wedding).
Hair - if you know someone who does hair (again - look at your resources) - ask her if she'd be willing to do the bridesmaids' hair for a slightly discounted price. Katie did this for her wedding - we only had to pay $20 each for an up-do. You could also give your girls the option of either going to the salon with you or doing their own hair.
Groomsmen
-Apart from having the groomsmen wear a full tux I've been to weddings that used one of these options - and the guys still looked great -
-Black pants, white dress shirt, and matching ties.

-Black pants, white tux shirt, and full back vest (no jacket)
Hopefully this helps some brides who are in the same dilemma I was in (feeling bad asking the bridesmaids to spend money) - and hopefully you see that your girls don't have to fork out a bunch of money to look fabulous at your wedding!
Happy Wedding Planning!
Tuesday, May 24, 2011
The Invitations
I have such a plethora of material that I want to cover on this blog - such a long lists of posts that I wanted to do - that I did not know where to begin!
So, I am going to begin at the beginning. When it comes to do-it-yourself (DIY) wedding details (decor, centerpieces, programs, other stationary, flowers, etc.) - what will you have to do first? Why, your invitations of course! Invitations usually get sent out about 3 months before the wedding - whereas all your other DIY projects can wait until a couple weeks to a couple days beforehand.
I was lucky enough to be marrying someone who knew his way around graphic design. He did a pretty good job (if I do say so myself...) designing our invitations - using our engagement pictures.
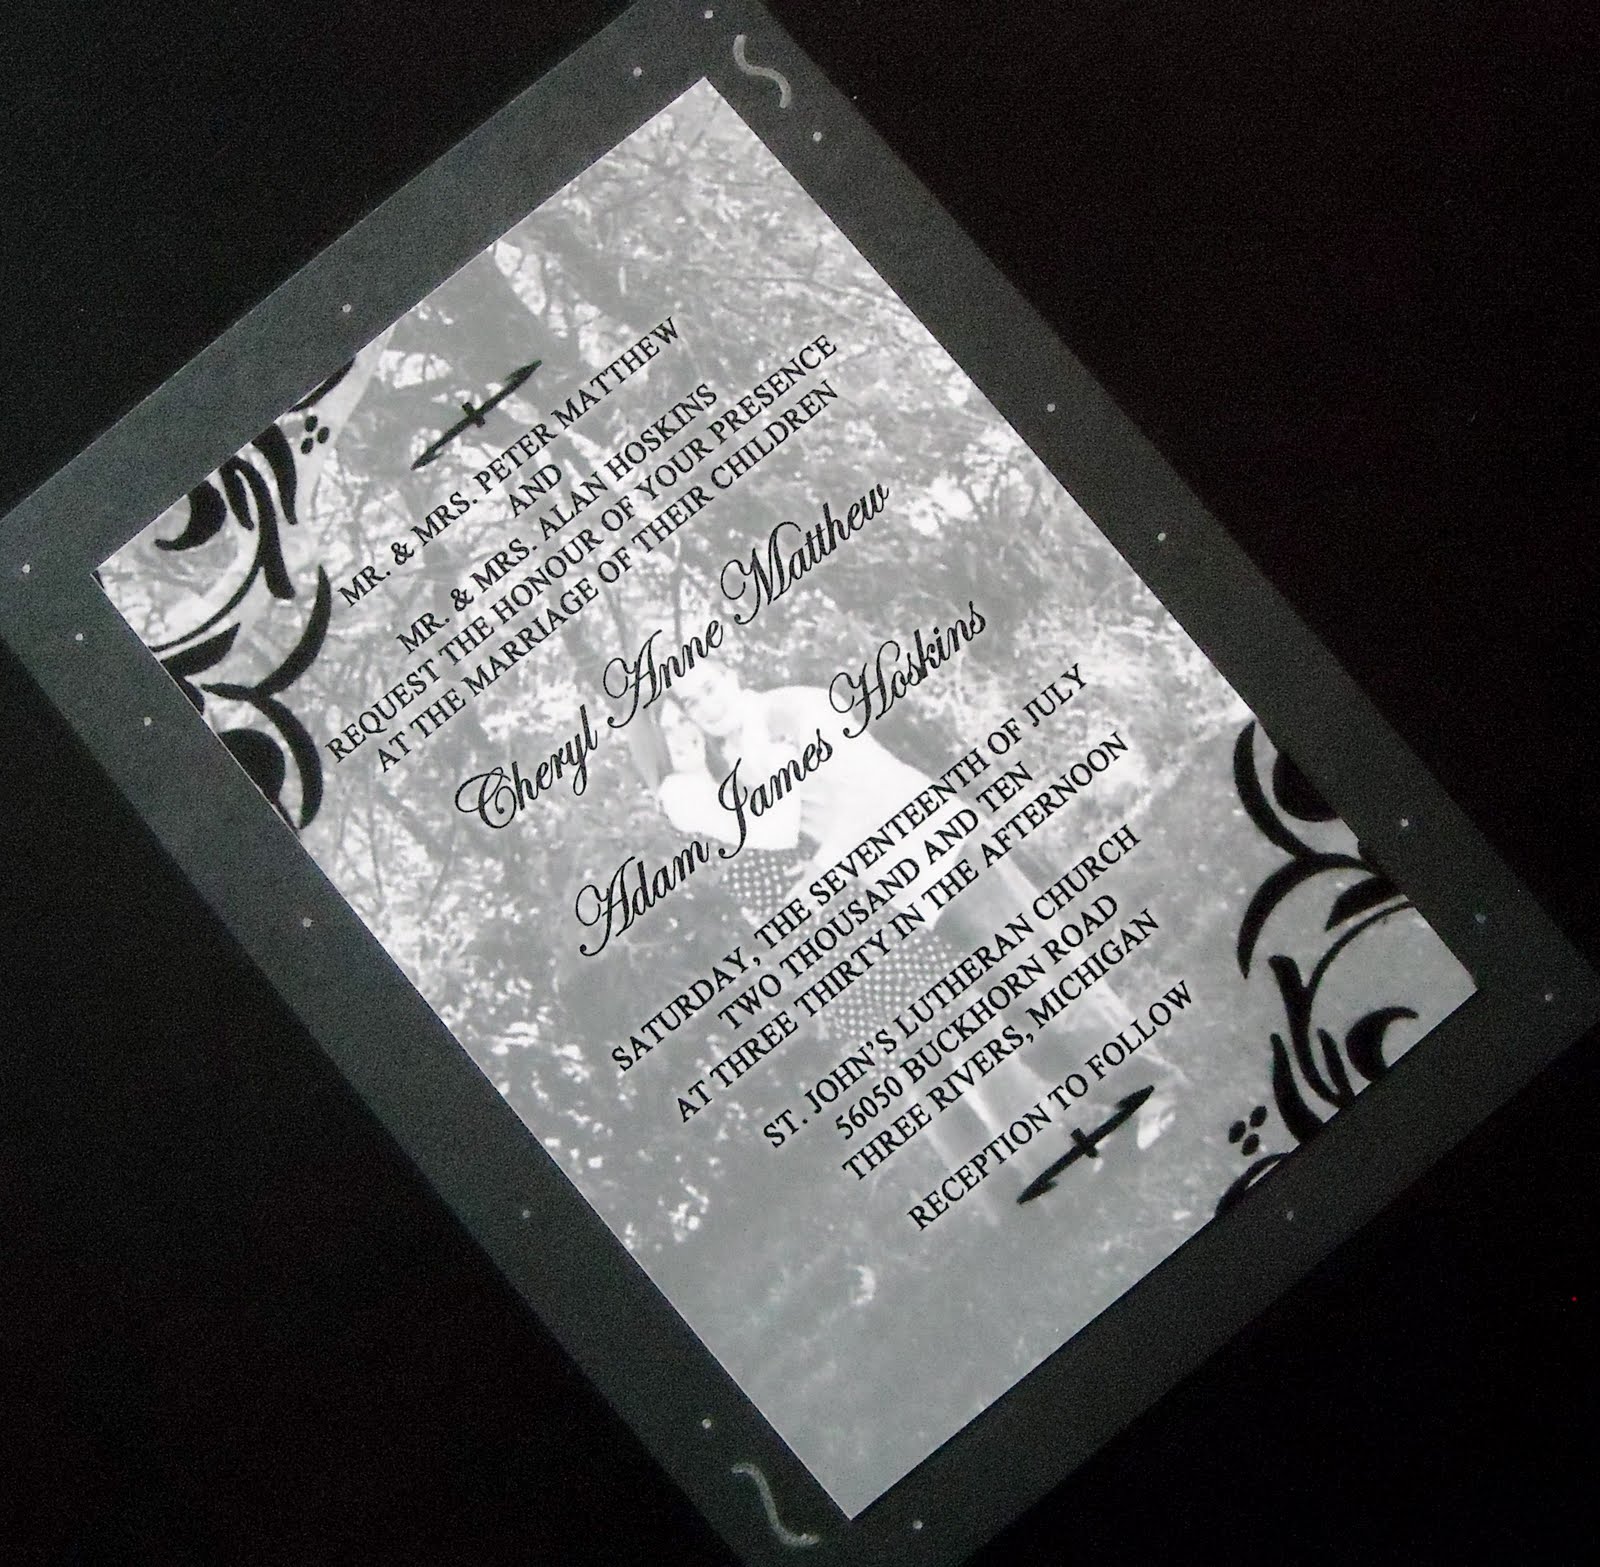
Here is a really inexpensive way to do invitations:
1. Choose an engagement photo.
2. If you don't have/don't know how to use PhotoShop - use either Paint (PC) or Preview (Mac) to type all pertinent information over the photo
***If you know someone who is good with graphics/has PhotoShop - call in a favor!***
*****Check out bridal magazines and examples of wedding invites online to make sure you include all necessary info*****
3. My husband also designed two card inserts and printed them for free on vistaprint.com

4. Once the invites were completed and proof-read by every person we could find - we printed them off at Wal-Mart. Talk about inexpensive!!!

5. We then matted them on black card stock (to hide the photo-paper on the back) and detailed the matting with silver Sharpies.
6. To save money on sending return envelopes for the RSVP's - we had our guests RSVP online or by phone only.
Not feeling too confident in your graphic-ing abilities?
For my brother's wedding, he and his wife made very beautiful, simple invitations ~
1. Buy blank cards with envelops in bulk - you can find them at crafting stores like Michael's - in a variety of neutral tones.
2. While at the crafting store - pick out one (or a few) stamps that would make a pretty, elegant design for the front of your invite (you can also choose a small heart and/or flower stamp to decal the inside).
3. Choose an ink pad in a color that complements the color of the cards and/or is one of your wedding colors.
4. Once you've got all your loot home - set to work stamping your invites!
5. Fill out the contents on the inside of the card by hand (get a friend or family member with nice hand-writing to help out! - or better yet, get several of them to help!)
Still not satisfied? Still looking for a way to have nice invites without spending hundreds?
Check out this website I found!
They have free downloadable templates for invites, how awesome is that?!?
Again, I recommend printing at a store like Wal-Mart (Walgreens, Meijer, etc.) - and matting with your choice color of cardstock.
Happy Invitation Making!
Hope this helps someone :O)
Saturday, May 21, 2011
Dispelling Common Misconceptions
So I've told you already that I'm trying to help those of you who are struggling to pull together a fabulous wedding on a tight budget.
I gave you, what I thought, were some pretty good general tips, but I feel as though I used a four-letter word in the previous post when I said "homemade." You may have been thinking to yourself, "HOMEMADE? I thought you said you were going to help me have a fabulous wedding?!?" And it's true...the word "homemade" comes with sort of a negative connotation - especially when you're striving for an elegant, classy wedding. Often, when thinking of homemade things, we think cheap or childish looking - may be okay for a birthday party or cook out, but definitely NOT for MY wedding day!
So here I am - ready to rescue you from those gross misconceptions about the quality of homemade products. When I was planning my own wedding, I really got dragged down by all the little costs that piled up. We were planning on having the bigger expenses - the reception dinner, the dress, etc. But what about the centerpieces? the programs? the table numbers? the flowers? the favors? They just kept adding up and adding up! So unless I wanted to spend roughly $150-$300+ on each of these, I needed to find a better way.
Again, with a lot of help from my sister, I discovered that we could not only make these things ourselves, but - if we took the time - we could make them look ... wait for it ... fabulous!
I'm not going to go into detail right now about how we made all of these - I'll do later posts on each one, giving step-by-step instructions, but for now - just take a look at how awesome homemade can look!

Bouquets - flowers bought in bulk (Sam's Club - $75 for 100 red/white roses) - enough to make the bouquets, boutonnieres and corsages. Bound with floral tape and wrapped with ribbon.

Table numbers - booklets for guests to leave advice for the newlyweds in - made with scrapbook paper (in wedding colors), ribbon, cardstock, and Elmer's glue!

Centerpieces - each were different - 2-3 mason jars each, filled halfway with sand, bound with tulle and ribbon, one tealight candle in each jar.

Head table - tulle and christmas lights go a long way!

The MC's - pulled two friends whom we knew to have great MC-ing personalities to do the favors (a professional would have cost hundreds! and we received many compliments on the job our friends did!) - Okay, I know they're not homemade, but I think you get the point!
So ... if after all this you're thinking "way too much work, I'd rather just spend the money!"
or that
"I can't do all that! I don't have a creative bone in my body!"
Well, to the first statement, I say - it's great that you can afford to spend all that money on those things that will be used for one day, then tossed aside. But wouldn't you much rather save the money for your honeymoon? Or save up for your first home?
And to the second statement I say - well, let me help you some more! Stay tuned in, and I'll be giving you step-by-step, fail proof instructions, plus resources and more ideas - just like there's more than one way to skin a cat, there's also more than one way to make a table number, centerpiece, or bouquet!
Just remember, homemade now equals fabulous :O)
Friday, May 20, 2011
Welcome!
Welcome to my new blog!
The main purpose of this blog is to provide some very helpful tips to brides who want their special day to be perfect, but don't want to break the bank in the process.
I recently went through the whole wedding-planning process myself, and with a lot of help from my sister - my own personal wedding consultant - I was able to have an absolutely splendid wedding on my very small budget.
Here are a few general tips to start out with:
#1) Take the time to stop and look at your resources - mainly, who do you know? Do you have a friend/cousin/sister/aunt/etc. who's crafty? who can sew? who bakes? cooks? who can do graphics? who knows half the business owners in town and can get you some good deals?
#2) Write out every little detail that needs to be planned - from the ceremony/reception locations, to the dress, and right down to the programs and favors (buying a wedding planning book is extremely helpful in this department - they run anywhere from $15-$30. Check out Barnes and Noble).
Look at each item and decide how important it is to have the absolute best (a stunning location, a breath-taking dress, the 5-star meal your guests will never forget, etc.). Rate each one on a scale from 1-4 (1-extremely important, 2-somewhat important, 3-not too important, 4-you don't care).
Now you can take a step back, look at your list and decide where you need to put your money, and where you don't mind going the home-made route.
#3) From the minute you're engaged, be on the look-out for sales. Keep an eye on David's Bridal to see when they're having their $99 dress sales - the dresses on sale vary each time and according to location, so keep checking it out - your dream-dress may just show up!
Also look out for sales at places like Hobby Lobby, Michael's, and any other craft store - they are great places to get supplies for favors, center pieces, and decor. My mother-in-law caught a sale at Hobby Lobby - 90% off all wedding supplies - she got me a ton of tulle, ribbon, bubbles, a beautiful guest book and pen, and thank you cards - all for super cheap.
So, if you find yourself planning a wedding - and slowly realizing that weddings cost a fortune - do not dispair, I am here to help! Let me pass on some of my money-saving ideas and craftiness (just take a look at some of my pictures on the sides...) to help you have the wedding you've always wanted at a price you can afford :O)
Subscribe to:
Posts (Atom)