
I have such a plethora of material that I want to cover on this blog - such a long lists of posts that I wanted to do - that I did not know where to begin!
So, I am going to begin at the beginning. When it comes to do-it-yourself (DIY) wedding details (decor, centerpieces, programs, other stationary, flowers, etc.) - what will you have to do first? Why, your invitations of course! Invitations usually get sent out about 3 months before the wedding - whereas all your other DIY projects can wait until a couple weeks to a couple days beforehand.
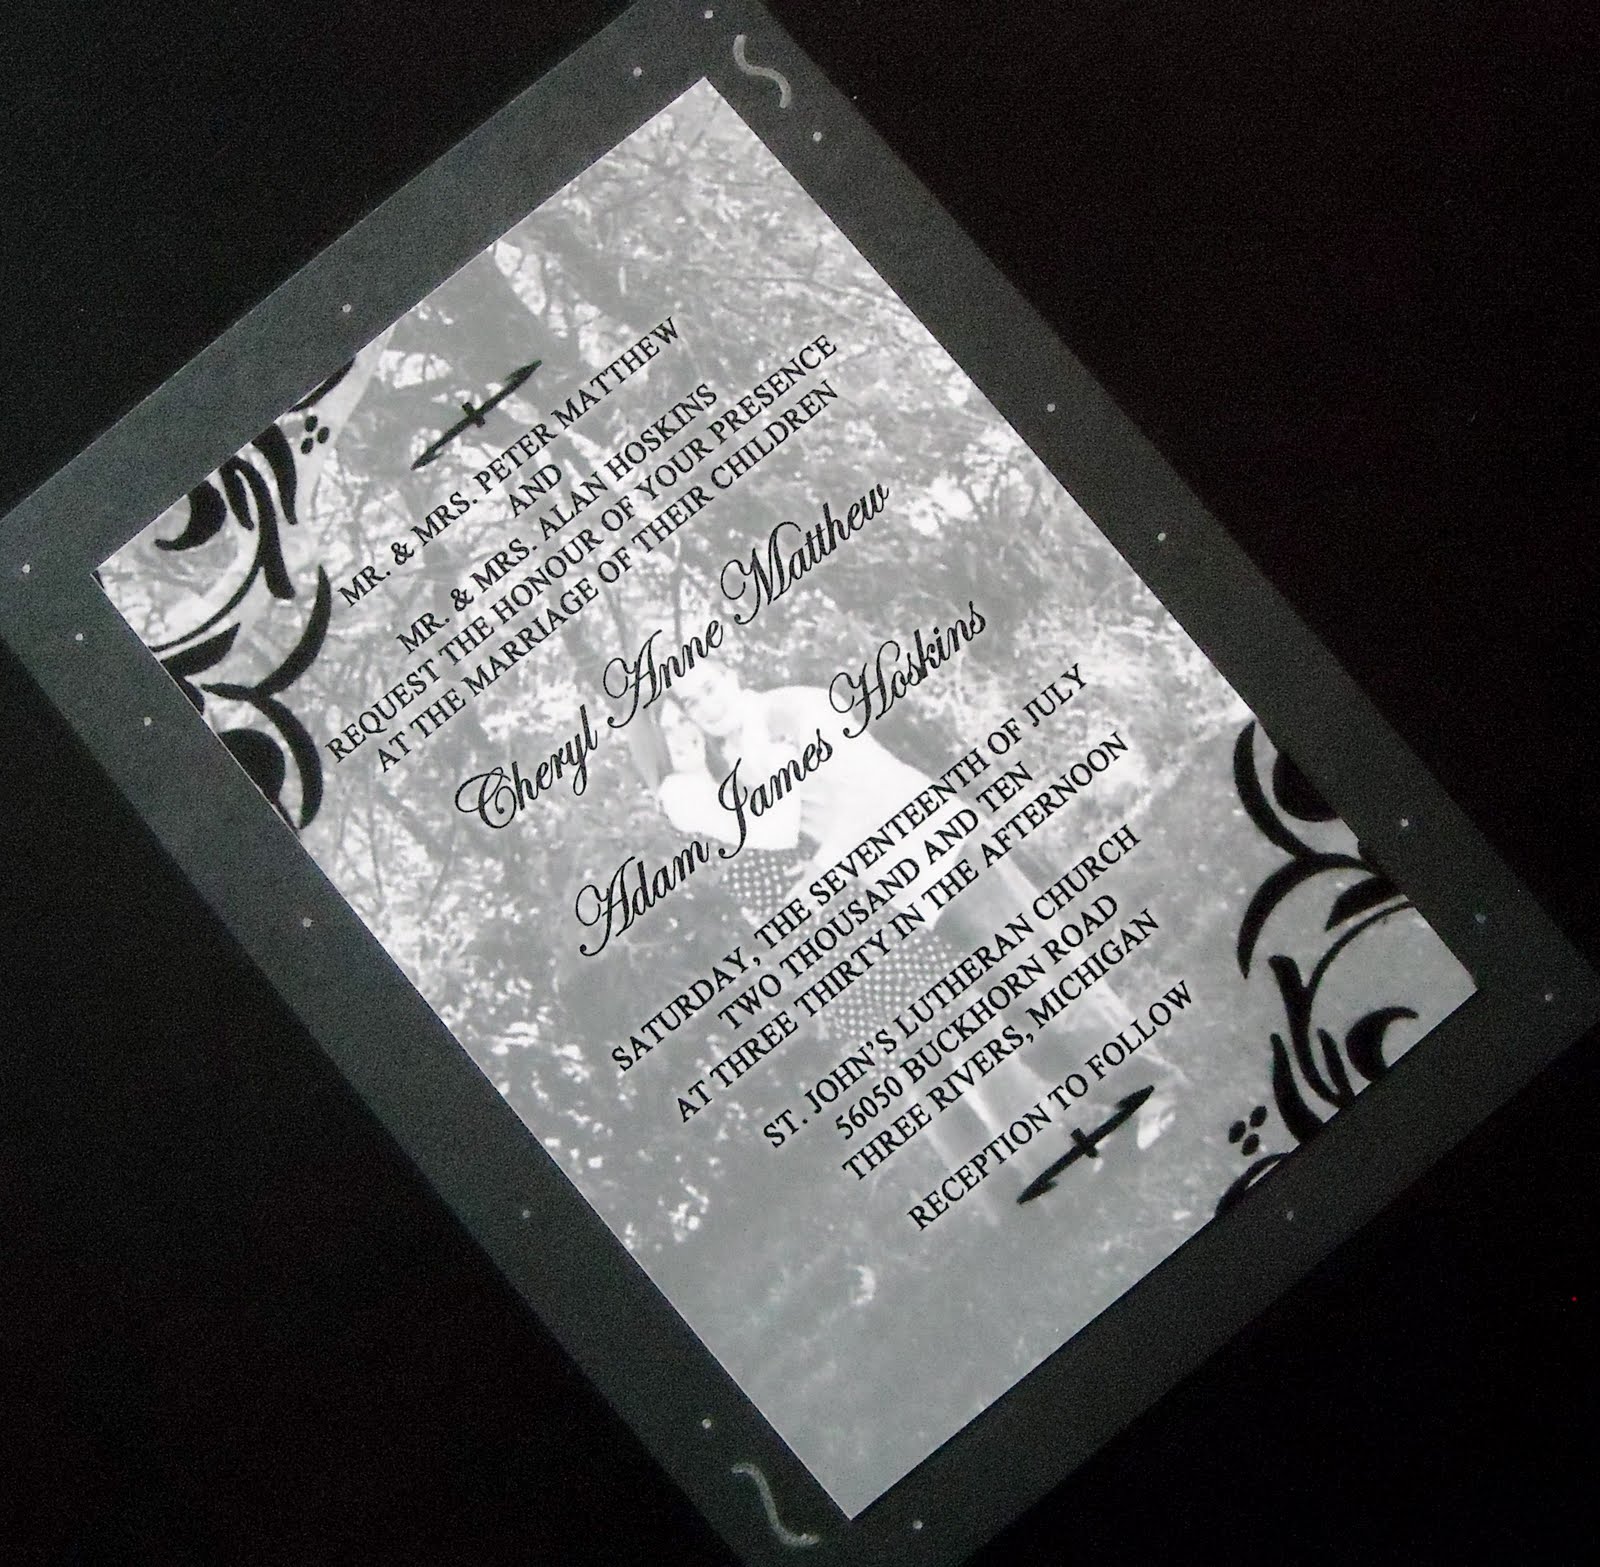
I was lucky enough to be marrying someone who knew his way around graphic design. He did a pretty good job (if I do say so myself...) designing our invitations - using our engagement pictures.
Here is a really inexpensive way to do invitations:
1. Choose an engagement photo.
2. If you don't have/don't know how to use PhotoShop - use either Paint (PC) or Preview (Mac) to type all pertinent information over the photo
***If you know someone who is good with graphics/has PhotoShop - call in a favor!***
*****Check out bridal magazines and examples of wedding invites online to make sure you include all necessary info*****
3. My husband also designed two card inserts and printed them for free on vistaprint.com

4. Once the invites were completed and proof-read by every person we could find - we printed them off at Wal-Mart. Talk about inexpensive!!!

5. We then matted them on black card stock (to hide the photo-paper on the back) and detailed the matting with silver Sharpies.
6. To save money on sending return envelopes for the RSVP's - we had our guests RSVP online or by phone only.
Not feeling too confident in your graphic-ing abilities?
For my brother's wedding, he and his wife made very beautiful, simple invitations ~
1. Buy blank cards with envelops in bulk - you can find them at crafting stores like Michael's - in a variety of neutral tones.
2. While at the crafting store - pick out one (or a few) stamps that would make a pretty, elegant design for the front of your invite (you can also choose a small heart and/or flower stamp to decal the inside).
3. Choose an ink pad in a color that complements the color of the cards and/or is one of your wedding colors.
4. Once you've got all your loot home - set to work stamping your invites!
5. Fill out the contents on the inside of the card by hand (get a friend or family member with nice hand-writing to help out! - or better yet, get several of them to help!)
Still not satisfied? Still looking for a way to have nice invites without spending hundreds?
Check out this website I found!
They have free downloadable templates for invites, how awesome is that?!?
Again, I recommend printing at a store like Wal-Mart (Walgreens, Meijer, etc.) - and matting with your choice color of cardstock.
Happy Invitation Making!
Hope this helps someone :O)
No comments:
Post a Comment